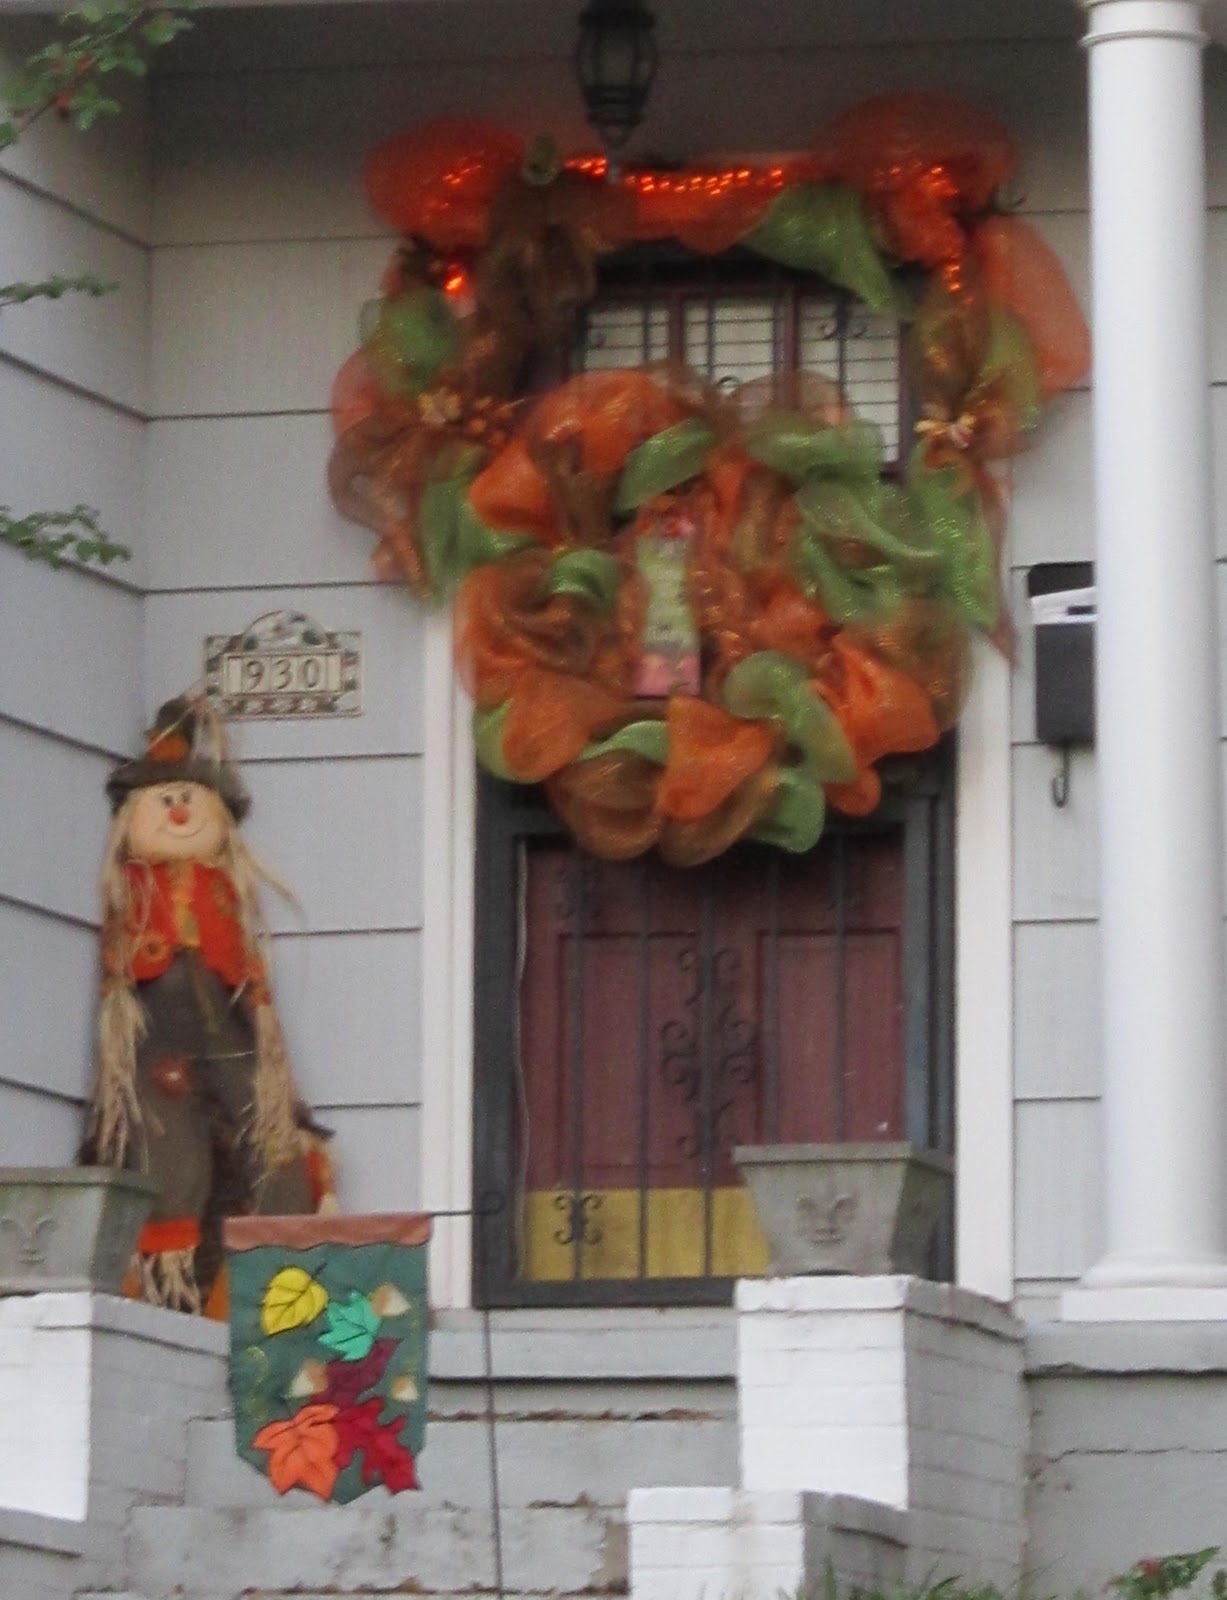
Last week we hosted Sharon's rug hooking/knitting group. It is actually Laura Shulze's class (see her fabulous blog at
www.beehiverugs.blogspot.com).
Laura is the one in glasses and black collar. They were a really fun group, trading tips on knitting and enjoying each other's company.
We made pizzas for them for lunch. We are perfecting our dough, dough pulling, pizza oven cooking and favorite ingredients. We made about 12 different pizzas and they all turned out really well.
Kendel was our baker for the day. He has figured out the best gas/air mix in the pizza oven. We are waiting for cooler weather and more rain to fire it with wood.

Sharon made the pizza dough using the traditional recipe we got somewhere on the internet and tweeked. It is at the end of this post. Sharon is great at pulling the dough. First she oils her hands lightly, the starts pressing from the center of the dough, twirling the dough on the parchment paper. Her pizzas were perfectly shaped.
Here is a few of our finished pizzas. The most popular combination was white sauce covered with carmelized onions, pears, sausage and fontina cheese.
Traditional Pizza Dough
1 tsp rapid rise yeast
2 Tbs sugar or 1 1/2 Tbs honey
2 cups plus 2 Tbs lukewarm water (100 to 108 degrees)
5 1/3 cups unbleached flour
2 tsp salt or 1 Tbs kosher salt
2 Tbs olive oil
In a large measuring cup or small bowl, mix yeast with water and honey. Set aside and allow to proof for 10 minutes.
In a large mixing bowl, combine flour, salt, proofed yeast and oil. Mix on low speed using a dough hook attachment until a ball forms.
Remove from hook and transfer to a floured board. Punch down dough and knead briefly. Divide dough into 5 equal portions and roll each piece into a ball (each ball makes a 12" pizza, for individual size divide dough into 10 equal portions.) Place the balls of dough, covered, in the refrigerator for at least 2 hours or overnight. Bring the dough to room temperature before proceeding.
On a floured piece of parchment paper roll and stretch each piece of dough into a 12 inch circle. Place each circle on a pizza peel or pizza pan and top as desired.
Preheat oven to 450 degrees and bake 12 to 15 minutes, or until crust is golden.
.
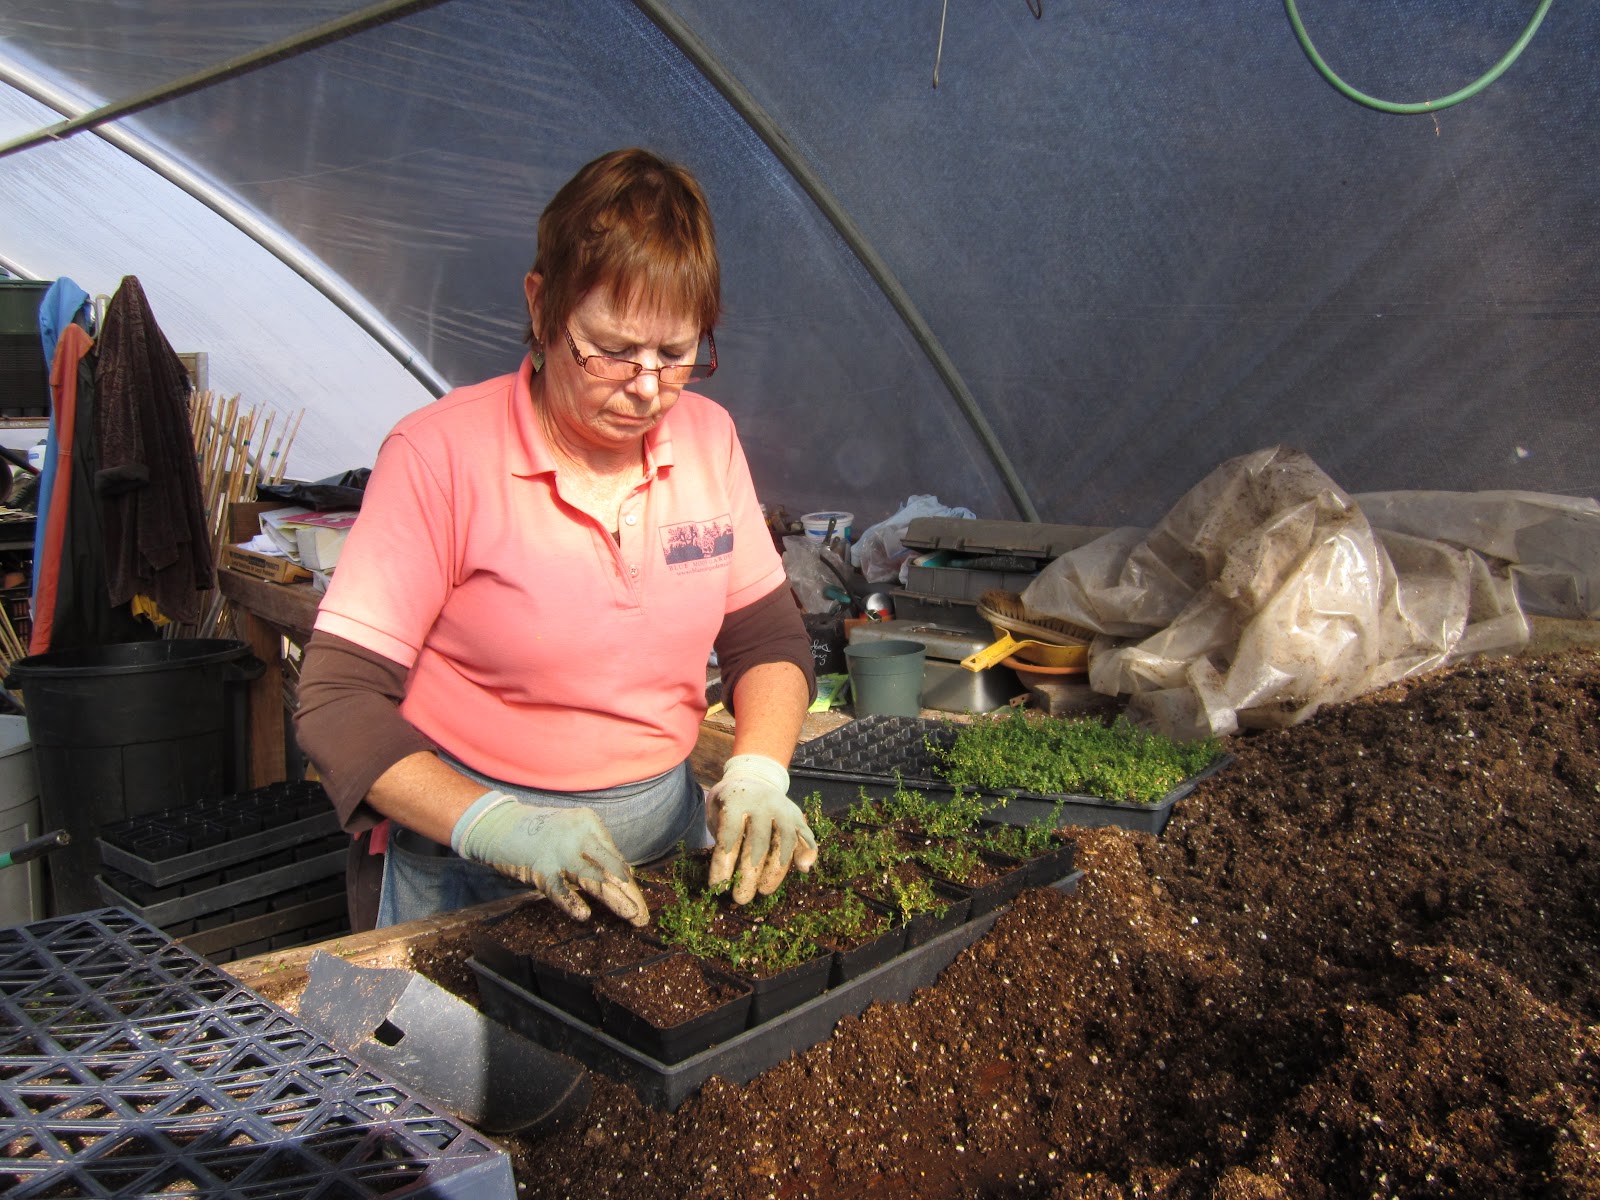 Even though we are closed early in the week, we have been busy getting ready for spring. Mary is seriously potting up baby Thyme plants. Aren't they cute?
 The greenhouses aren't quite full yet but well on the way. This one is full of little seedlings waiting their turn at the potting table.
 Mary's dog Annie gets to help. It sure does make her happy to be with her mommy.


 is lo
is lo